I have been dithering back and forth for seven months now, all over the type of contact printing frame I want to use. I was spoiled in New England 30 years ago because I could purchase all manner of frames for next to nothing. For the longest time I looked at variations on the AirEquipt Photocrat, but finding none near enough “to fondle,” I chose to not spend $50 on a pig in a poke. And while I used to use one, they’re great for making multiple copies from a negative, a self-contained contact printing box doesn’t allow for any “manipulation.”
So I chose to make my own. For this I need a base, a piece of clear glass, a hinge and some foam. Why the foam? While I could have used two sheets of glass and no foam, two sheets of glass pressed together are held in place by our atmosphere: 14.7 pounds per square inch. That’s 93.5 pounds of force trying to keep those two pieces of glass together. Besides the foam makes a nice cushion for the film and paper.

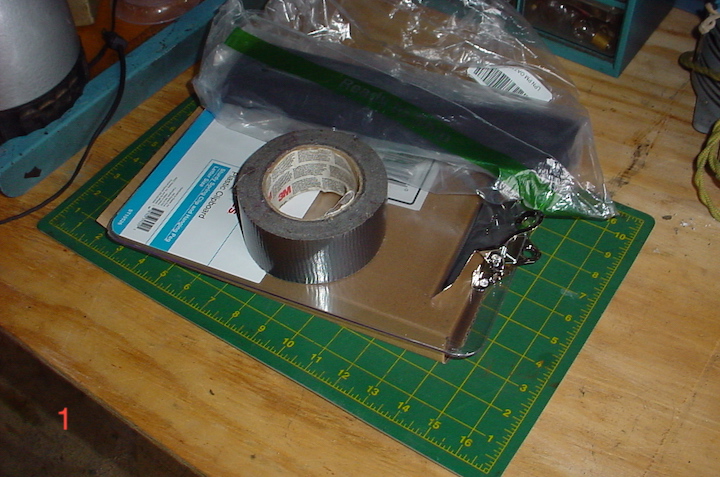
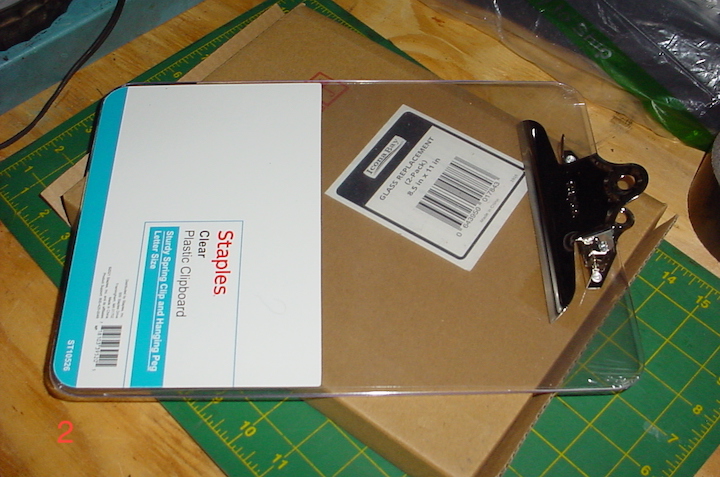
The materials. Some duct tape for the hinge, not my favorite but I have some on hand. 12″ wide by 1/16″ thick closed cell Neoprene foam. The cheapest clipboard at Staples. Two pieces of 8-1/2″ by 11″ by 1/16″ thick glass, standard for picture frames.

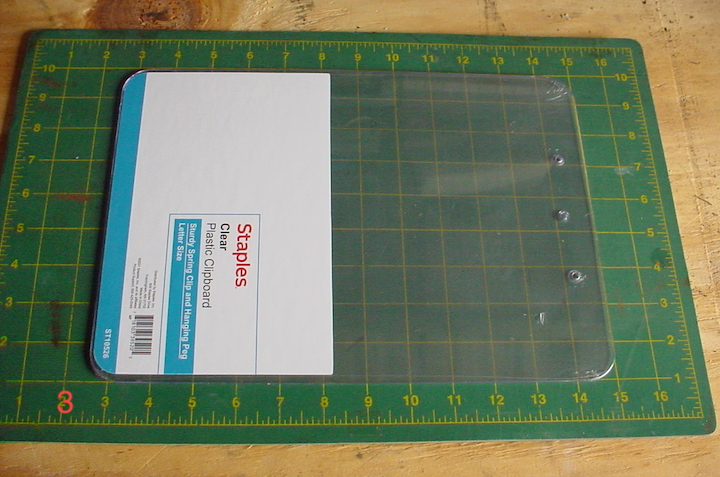
The clipboard and the glass.

Use a portable drill and a drill to remove the rivets. Don’t try to do it all at once, start small and work up gradually until the rivets are loose enough to be removed.

Cut a piece of foam to fit the clipboard and glass and fix it to the clipboard with a light coat of spray adhesive.

Bind one edge with the tape to create a hinge. This is very basic but it will work.
ADOX tells me that their ADOX Lupex silver chloride contact paper is single weight and eight f: stops slower than bromide enlarging paper. By my mathematics that means the exposure times are 256 time what you have been using for enlarging paper. ADOX recomments a 100 Watt incandescent tungsten light bulb mounted one meter above your contact printing set up.
